It is important to repair damaged grouts in Singapore as early as possible. Grout plays a crucial role in maintaining the integrity and appearance of tiled surfaces. Well-maintained grout provides a durable and aesthetically pleasing finish. Whether in bathrooms, kitchens, or living rooms, well-maintained grout keeps tiles securely in place and prevents seepage. But with time, grouts become cracked, stained, or crumble, especially in humid climates like Singapore.
The damaged grout causes several issues. This article will guide us on how to repair damaged grout in Singapore, ensuring both the functionality and visual appearance of the area. Also, PS Home Maintenance Singapore explains the complete process of repairing damaged grout in Singapore. They offer you exhaust fan installation, demolition services, and rubbish chute replacement in Singapore.
Developing An Understanding Of Grout Damage
Before exploring how to repair damaged grout, it is vital to understand the signs of grout deterioration. Common indicators are:
- Formation of cracks along grout lines
- Chipping or missing sections
- Discoloration or mold growth
- Loose or squeaky tiles
Singapore’s tropical climate worsens these issues due to high humidity and frequent cleaning practices. That’s why timely tile grout repair is required to maintain structural and aesthetic integrity.
How to Repair Damaged Grout?
To Fix Damaged Grout, the following steps are required.
1. Assess the Damage
Examine the tile area closely. Determine whether a full repair damaged tile grout process is required or just minor touch-ups. For deep cracks or multiple affected areas, a full regrouting is necessary.
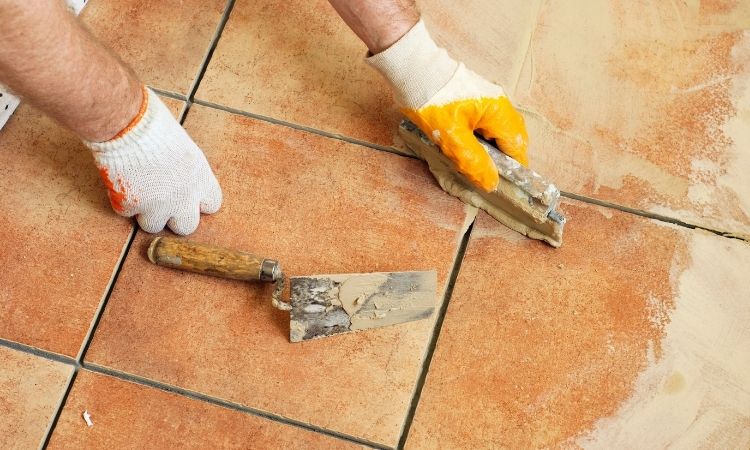
2. Remove the Damaged Grout
Use a grout saw or rotary tool to remove the loose or cracked areas. Be vigilant not to chip the surrounding tiles. This step is critical for an effective repair cracked grout process.
3. Clean the Area
After removing old grout, clean the lines thoroughly with the help of a vacuum or brush to eliminate dust and debris. This provides better adhesion for the new grout.
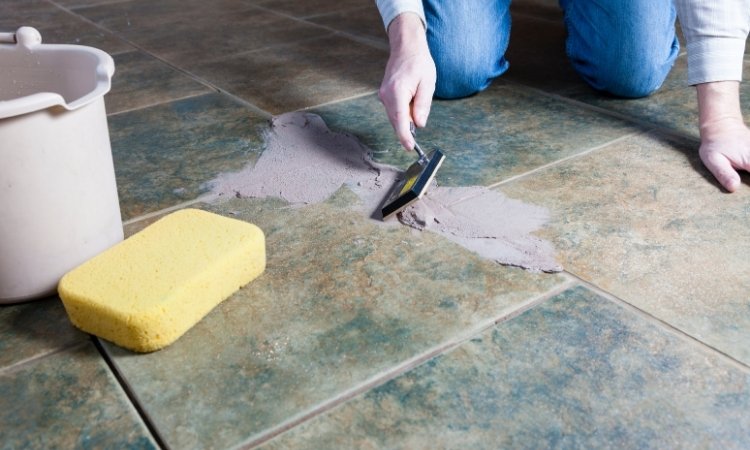
4. Apply New Grout
Mix the new grout as per the manufacturer’s guidelines. Use a grout float, press it firmly into the gaps, and ensure there are no air pockets. This part is central to tile grout repair and determines the durability of the repair.
5. Clean Excess Grout
After 10–15 minutes, remove the excess grout from the tile surface with a damp sponge. Don’t press too hard, as it pulls grout from the joints.
6. Seal the Grout
Once the grout has cured (usually 24–48 hours), apply a grout sealer. This acts as a protector against future damage. This is especially vital in Singapore, where moisture levels are high.
7. Regular Maintenance
Regular cleaning and sealing of grout prevent future damage. Use non-abrasive cleaners and avoid excessive water pooling on tiled surfaces.

Grout Damage and Professional Services
While small grout repairs are manageable, there are cases when hiring experts is best. For example, if tiles are lifting or the subfloor feels spongy, the damage is more extensive than just grout issues. Companies like PS Home Maintenance Singapore provide expertise in both cosmetic and structural tile repairs, that ensure that tiled surfaces remain safe and attractive.
Professional services include:
- Accurate color matching
- High-grade sealing solutions
- Timely and efficient work
- Warranty on repairs
The experts provide their services to repair damaged grout in Singapore. This saves time and offers long-lasting results.
Conclusion
In short, the knowledge of how to repair damaged grout in Singapore is essential. The humid environment of Singapore exacerbates grout wear and makes timely repairs crucial. Proper care and maintenance extend the life of tiles and keep the tiled surface in good condition. In this regard, a proper understanding and services provided by educated professionals play a key role in tackling damaged grout.