A homeowner needs to repair a broken table as soon as possible because a delay can extend the damage further. A broken table is a frustrating problem as it’s a piece you use regularly. There can be different kinds of table damage; you must know a remedy for each. Therefore, this article provides you with the best tips to repair your broken table that you use regularly. Let’s read the article to learn how to repair broken tables in Singapore.
How to Repair a Broken Table in Singapore?
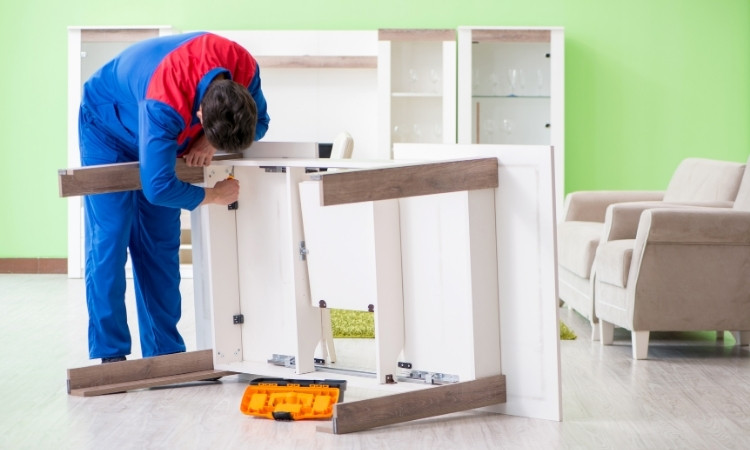
Repairing a broken table in Singapore is an art, and homeowners need to master it to save on the cost of hiring professionals. Many find it messy to fix a broken table and hire professionals like PS Home Maintenance Singapore, who offer furniture assembly and disassembly, carpentry, window repair, and door repair services. However, some consider broken table repair a challenge and adopt the DIY approach. Fixing a wooden table is never too easy until you read the following tips:
1. Identify the Damage
Before you repair a broken wooden table, it’s important to identify the extent of damage. Tables usually break in different ways:
- Loose legs
- Damaged surfaces
- Cracked wood
- Loose joints
When you know the problem, you have to think about the possible solution and what suits you. Moreover, you should also need to know the right tools to repair a broken table.
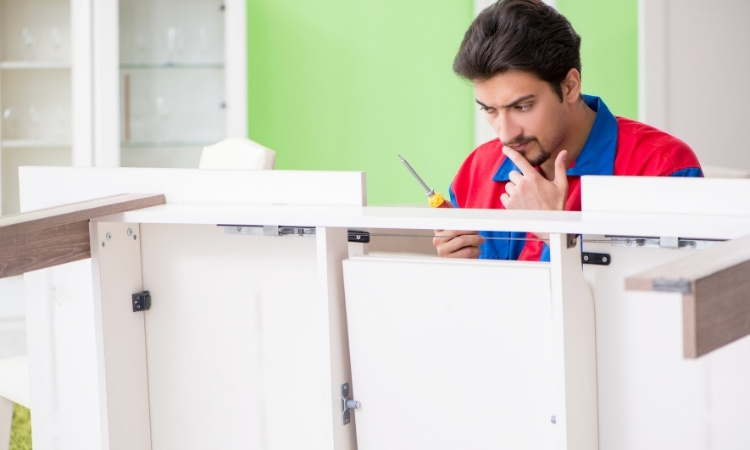
2. Tools and Materials
Depending on the damage, here are the tools and materials that are generally a must:
- Wood glue or epoxy
- Sandpaper
- Clamps
- Screws, nails, or bolts
- Wood filler
- A screwdriver or drill
- Paint or varnish for refinishing
Depending on the specific problem, you may not need some tools, but you should keep them in your armory to avoid last-minute hassles.
3. Fix Wobbly or Loose Legs
Loose legs are a common problem and are relatively easy to fix. You should start the process by turning the table upside down to access the legs. If the legs are screwed in, tighten the screws to resolve the issue.
If the screws are damaged, replace them with new ones. When the legs are fixed using glue, apply wood glue to the joints and wait for the glue to dry completely. After 24 hours, the table should be completely stable.
4. Repair a Damaged Surface
A damaged tabletop can make the entire table look worn out, but it’s simple to restore. In this case, the first step should be to sand the damaged area of the table. If there is extensive damage, apply wood filler and let it dry. Afterward, sand the area again to smooth it out. The last step would be to apply a new coat of paint to match the rest of the table.
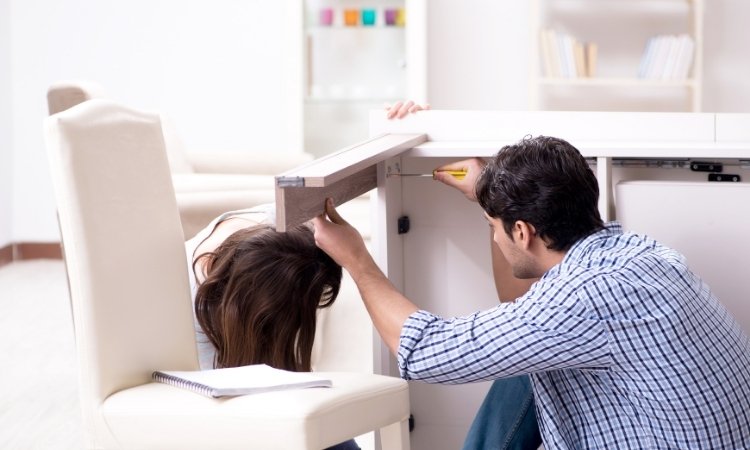
5. Replace Loose Joints
Loose joints can unbalance a table. To fix this issue, you need to disassemble the joint carefully. If it’s glued, try to gently separate the pieces. Clean off the old glue, apply fresh wood glue, and press the parts together. Use clamps to hold the joint in place until the glue dries completely. You can take additional help from screws and dowels. You will notice that the table is balanced when the glue is dry.
6. Fix Cracks in the Wood
Cracks in the wood can make your table look unattractive. However, it is fortunate to demonstrate that they are easy to fix. For small cracks, apply wood glue and clamp the wood tightly until the glue dries.
For larger cracks, use a wood filler to fill the gap. After the glue and fillers are dry, sand it down to smooth the surface. You can refinish the area with paint to match the style of the rest of the table.
7. Refinish the Table
After completing all the steps, you should refinish the table to give it a fresh look. Lightly sand the entire table to remove the old finish. Apply a new coat of paint to protect the table and make it look new again. Wait for the table to dry completely and enjoy the fresh look of your table.
Conclusion
In conclusion, it is not a straightforward process to repair a broken table until you read the above steps. The steps help you assess the damage and resolve the issue most efficiently. You can hire a professional or do it yourself. All you need is a few basic tools and the right knowledge. Therefore, this article helps both professionals and homeowners with the complete list of tools and processes to achieve professional results.