It is easy to remove silicone sealant if you follow the instructions in this article. Silicone sealant is a common material in homes in Singapore. It is used to seal gaps in the bathroom, kitchen, and windows. It keeps water and dust out. But after some time, the sealant can become dirty and cracked.
When this happens, you must remove the old sealant before you put a new one. Some people think this is hard. But with the right steps, you can do it yourself. This guide will help you learn how to remove silicone sealant easily in Singapore.
How to Remove Silicon Sealant in Singapore?
This guide explains the complete process to replace the silicone sealant without professional assistance. Let’s scroll through the step-by-step process to remove silicone sealant in homes.
Step 1: Get the Right Tools
Before you begin, get all the tools you need. This will help you finish the task fast. You will need:
- A sharp knife or a cutter
- A plastic scraper
- A soft cloth
- Rubbing alcohol or sealant remover
- Gloves for hand safety

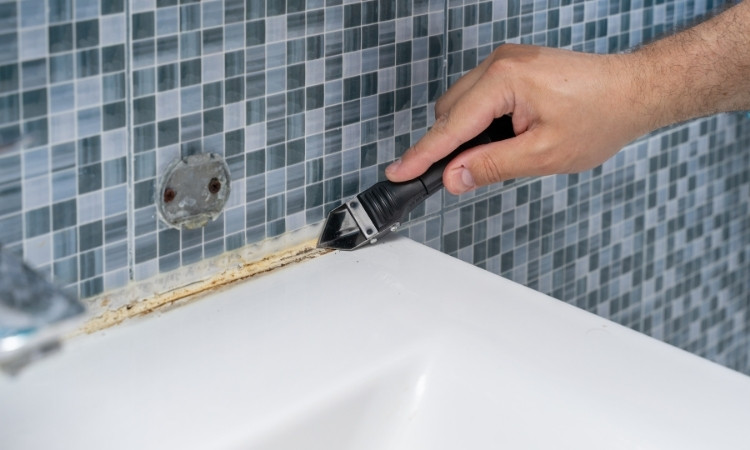
Step 2: Cut the Sealant
Use a sharp knife to cut the old silicone sealant. Press the knife along the edge of the sealant and cut both sides to make it loose. Be careful not to scratch the surface in this process. If you work on tiles or glass, press the knife gently. If the sealant is thick, cut it into small parts. This makes it easy to lift.
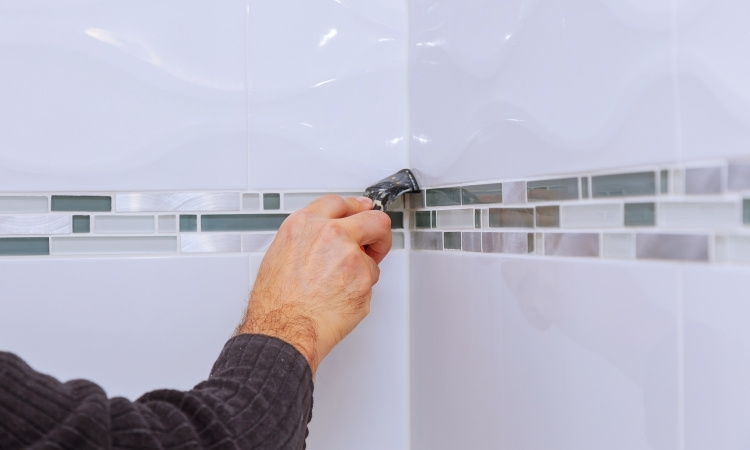
Step 3: Silicon Sealant Removing
When you cut the sealant, start to pull it off. Use your hands to peel it. If some parts are hard to remove, use the plastic scraper. However, do not rush and pull off all the old sealant from the gap. If the sealant breaks, do not worry. Keep pulling until you remove all of it.
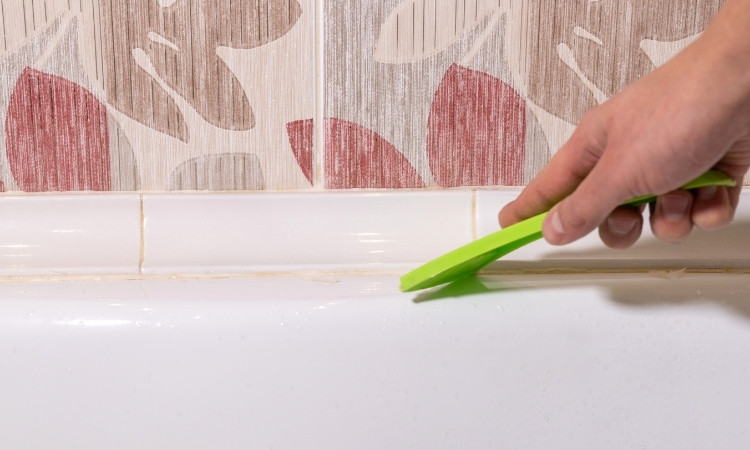
Step 4: Use Sealant Remover
After you take out most of the sealant, some parts may stay stuck. Use a cloth with rubbing alcohol or a sealant remover. Rub the area to soften the bits left behind. Afterwards, wait for a few minutes. This will help to break down the sealant. Then, use the scraper again to clean the surface.
Step 5: Clean the Surface
Now that you have removed all the sealant, clean the surface and wipe it with a clean cloth. Make sure there is no dust or oil. This step is very important if you want to apply a new sealant after. The new sealant will not stick well if the area is not clean.
Step 6: Let It Dry
Once you clean the area, let it dry. Do not touch it until it is fully dry. This will help to keep the place neat. If you apply new sealant, the surface must be dry. Wait for at least 30 minutes. You can wait longer if the place is wet.
When to Call a Professional?
Most of the time, removing silicon sealant is a DIY task. But if the area is large or hard to reach, you can call a handyman in Singapore. Some companies, like PS Home Maintenance Singapore, offer demolition services, cornice repair, and floor spring replacement services in Singapore. They bring the right tools and finish the task fast. But if you follow this guide, you can save money and do it on your own.
Conclusion
In Singapore, it is hard to remove silicone sealant, especially if you follow the tips mentioned above. You only need simple tools and a little time. Keep your home clean and dry. Remove old sealant when you see signs of damage. This keeps your bathroom, kitchen, and windows in good shape. Now you know how to do it easily.