
It is a technical job to prepare a wall for tiling in Singapore. Tiling can make a wall look clean and new. It’s a great way to enhance your kitchen, bathroom, or any other part of the house. But before you fix tiles, you must prepare the wall.
If the wall is not ready, the tiles may fall off or break later. In Singapore, where the weather is hot and humid, it is important to follow the right steps. This guide will help you prepare your wall properly before you start tiling.
How to Prepare a Wall for Tiling in Singapore?
Preparing a wall for tiling is not hard if you follow the right steps and guidance. PS Home Maintenance Singapore explains the complete process for tiling a wall in Singapore. They offer several services, including appliance repair, partition wall installation, and demolition services, at an affordable price.
Steps to Prep a Wall for Tiling
Step 1: Check the Wall Surface
First, look at the wall closely. The wall must be strong, dry, and smooth. Do not place tiles on loose plaster, old paint, or soft wood. Knock gently on the wall with your hand. If you hear a hollow sound, the wall is probably weak. In that case, you must repair it before you tile.
Step 2: Remove Old Paint or Tiles
If the wall has old tiles, remove them first. Use a flat tool to lift each tile. Tap lightly and take your time. If there is paint on the wall, scrape it off with a paint scraper. Loose paint can stop the tiles from sticking. Make sure the wall is clean before you move to the next step.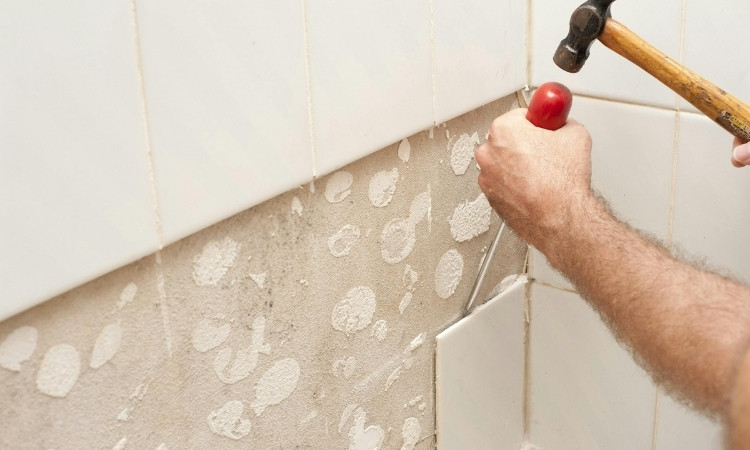
Step 3: Clean the Wall
After removing paint or tiles, clean the wall with a cloth and some warm water. You can also use mild soap if the wall is greasy or dirty. Remove all the pollutants and buildups. If the wall stays dirty, the adhesive will not work well. Let the wall dry fully before you do anything else.
Step 4: Fill Cracks and Holes
Check for small cracks or holes in the wall. Use wall filler to fill them. Apply the filler with a small knife and press it into the gaps. Smooth it with the knife so the surface is even. Let it dry completely. If the cracks are big, you will need help from a handyman.
Step 5: Sand the Wall
Once the filler is dry, use sandpaper to smooth the surface of the wall. Rub the surface gently to remove any rough spots. A smooth surface helps tiles stick better. After sanding, use a dry cloth to clean off the dust. Do not leave any powder on the wall.
Step 6: Check for Moisture
In Singapore, walls can remain damp due to the humid weather. Touch the wall with your hand. If it feels wet, wait for it to dry. You can also use a fan to speed up the drying process. If the wall stays damp, water can get trapped behind the tiles. This can cause mould later. Therefore, ensure the wall is completely dry.
Step 7: Apply a Primer if Needed
Some walls need a primer before you fix tiles. Primer helps the adhesive stick better. If the wall is very smooth or dusty, apply a coat of primer. Use a brush or roller to apply it evenly. Let it dry according to the package instructions. Do not skip this step if your wall is new or freshly plastered.
Step 8: Mark the Layout
Before you start tiling, plan where the tiles will go. Use a pencil and a level tool to draw straight lines on the wall. These lines will guide you when you place the tiles. Start from the middle of the wall or the bottom, depending on the size and shape of the tiles.
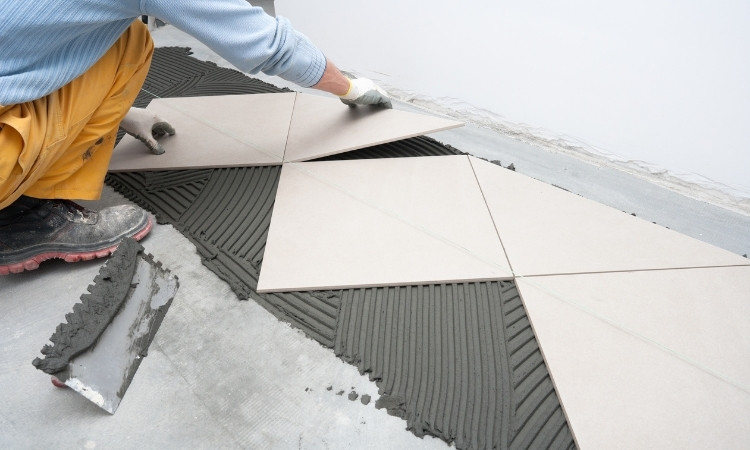
Step 9: Gather Your Tools to Prepare a Wall for Tiling
Before you start tiling, keep all tools ready. You will need tile adhesive, a trowel, spacers, a bucket of clean water, and a sponge. Make sure the tiles are also ready. Verify that they are clean and intact.
Step 10: Final Check
Before you begin, do one final check. Ensure the wall is clean, dry, smooth, and marked. Check that all tools and tiles are ready. Once you are sure, you can start tiling with confidence.
Conclusion
In conclusion, it is not difficult to prepare a wall for tiling in Singapore if you follow each step with care. First, check the wall. Then, clean it, repair any cracks, and smooth out the surface. Always let the wall dry before you begin.
Use a primer if needed. Mark your layout before tiling. With the right preparation, your tiles will stay strong and look neat for many years. Good work starts with good planning. Take your time and prepare the wall correctly.