
If you are looking for a guide to install light switches, this article is just for you. Light switches and sockets are essential components of any electrical system in a home or workplace. Whether you’re renovating a room or simply upgrading outdated fixtures, knowing how to install light switches and sockets can save you time and money. This step-by-step guide will walk you through the process, from gathering the necessary tools to testing the final installation. By following these instructions and taking safety precautions, you can tackle this DIY project with confidence.
Light Switches and Sockets Installation Singapore
Installing light switches and sockets might seem like a daunting task, but with the right tools and knowledge, it can be a straightforward process. Whether you’re replacing old switches or installing new ones, following these steps will help you get the job done safely and effectively. Follow these simple steps from PS Home Maintenance Singapore to install light switches and sockets effectively.
1. Gather the Necessary Tools and Materials
Before you begin to install light switches and sockets, you should have the following tools and materials:
- Screwdriver (flathead and Phillips)
- Wire stripper
- Voltage tester
- Electrical tape
- New light switches and sockets
- Electrical wires
- Wire connectors
- Circuit breaker or fuse box key
2. Turn Off the Power
Safety is paramount when working with electricity. Start by turning off the power to the circuit you’ll be working on. Locate the circuit breaker or fuse box and switch off the corresponding circuit. Use a voltage tester to check that the power is off before proceeding.
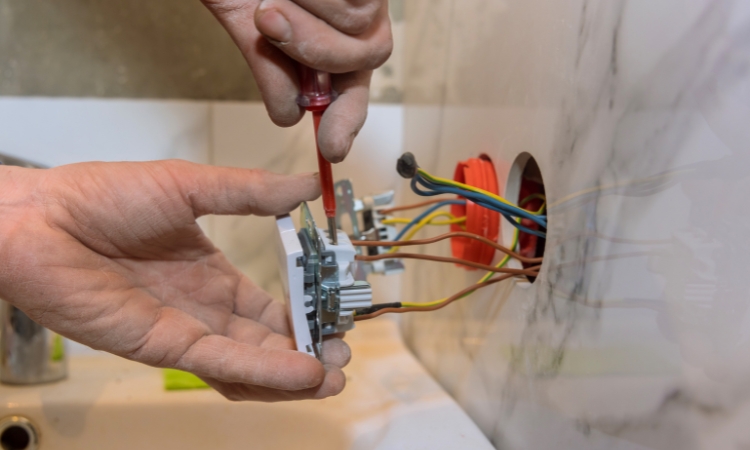
3. Remove the Old Switch or Socket
If you’re replacing an old switch or socket, use a screwdriver to remove the cover plate. Next, unscrew the mounting screws that hold the switch or socket in place. Carefully pull the device away from the wall, exposing the wires connected to it.
4. Disconnect the Wires
Using a screwdriver, loosen the terminal screws on the switch or socket to release the wires. Note the color-coding of the wires:
- Typically, black or red wires are hot (live).
- White wires are neutral.
- Green or bare wires are ground.
However, the color code varies for different countries. Disconnect each wire by unscrewing the terminal screws and gently pulling the wire out.
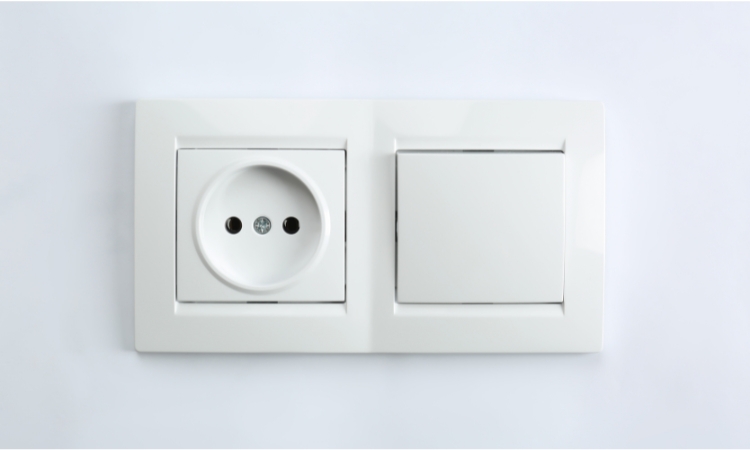
5. Prepare the New Switch or Socket
If you’re installing a new switch or socket, prepare it by removing the cover plate and loosening the terminal screws. Check the manufacturer’s instructions for specific details on your device.
6. Connect the Wires
Match the wires from the wall to the corresponding terminals on the new switch or socket. Typically, black or red wires go to the “hot” terminal, white wires to the neutral terminal, and green or bare wires to the ground terminal. Use wire connectors to secure the wires if needed, and ensure they are tightly screwed into place.
7. Attach the New Switch or Socket
Carefully position the new switch or socket against the wall, aligning it with the mounting screw holes. Use the provided screws to secure the device in place, making sure it sits flush against the wall. Replace the cover plate and tighten the screws.
8. Test the Connections
Once the switch or socket is securely installed, turn the power back on at the circuit breaker or fuse box. Use a voltage tester to check that the device is receiving power correctly. Test the switch or socket by turning it on and off to ensure it functions as expected.
9. Secure and Finish
After testing:
- Secure any loose wires inside the electrical box using wire connectors and electrical tape.
- Make sure all connections are tight and properly insulated to prevent any electrical hazards.
- Replace the cover plate and tighten the screws for a clean finish.
10. Clean Up
Dispose of any old materials and packaging properly. Wipe down the area to remove any dust or debris, leaving your newly installed switch or socket looking neat and professional.
Conclusion
It is a manageable DIY task to install light switches and sockets that can enhance the functionality and aesthetics of your living or working space. By following the steps outlined in this guide and adhering to safety precautions, you can complete the installation with confidence. Remember always to turn off the power, check connections, and test the devices before finalizing the installation. With the right tools and attention to detail, you can successfully install light switches and sockets like a pro.