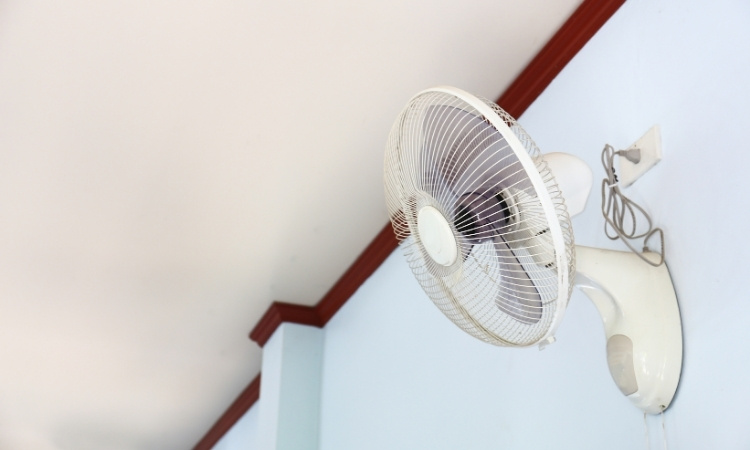
In Singapore’s hot and humid weather, you need to install a wall fan in addition to the air conditioning system to make the indoor space more comfortable. Wall fans are a great solution for cooling down rooms and do not consume too much energy.
Moreover, they save your floor space while effectively maximising the comfort in your living area. In this comprehensive guide, we’ll walk you through the steps of installing a wall fan to ensure you enjoy the maximum benefits.
Wall Fan Installation Singapore
Installing a wall fan provides functional and economical benefits to homeowners in Singapore. However, it is a technical task to mount a wall fan. Therefore, it is essential to learn the art of wall fan mounting in Singapore.
Thus, PS Home Maintenance Singapore has come up with this fantastic step-by-step process to install a wall fan. If you are unsure about the process, you can hire them for their professional exhaust fan installation, ceiling fan repair, washing machine repair, and fridge repair services.
Tools and Materials
It’s essential to have all the necessary tools and materials on hand. Here’s a list of the important tools and materials.
- Wall fan with mounting bracket
- Screwdrivers
- Electric drill
- Wall plugs and screws
- Measuring tape
- Pencil for marking
- Ladder
- Stud finder
- Safety goggles and gloves
How to Install A wall Fan?
Step 1: Choose the Right Location
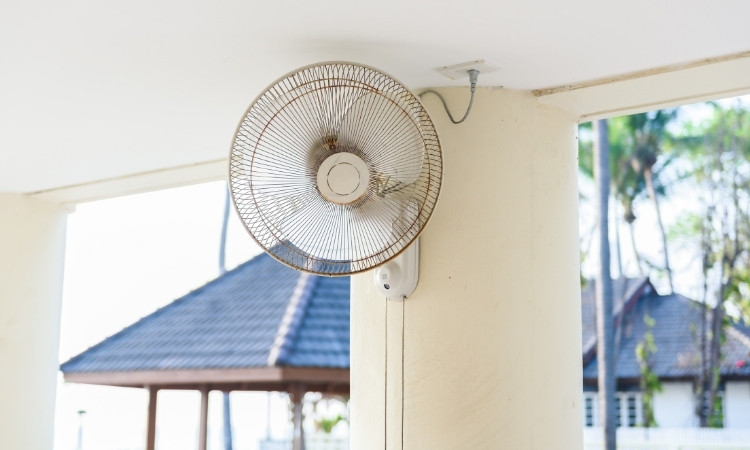
The first and most crucial step is to choose the best location for the fan on the wall. The location should be such that the fan efficiently circulates air throughout the room. It is a common practice to install wall fans between 1.8 and 2 meters from the floor.
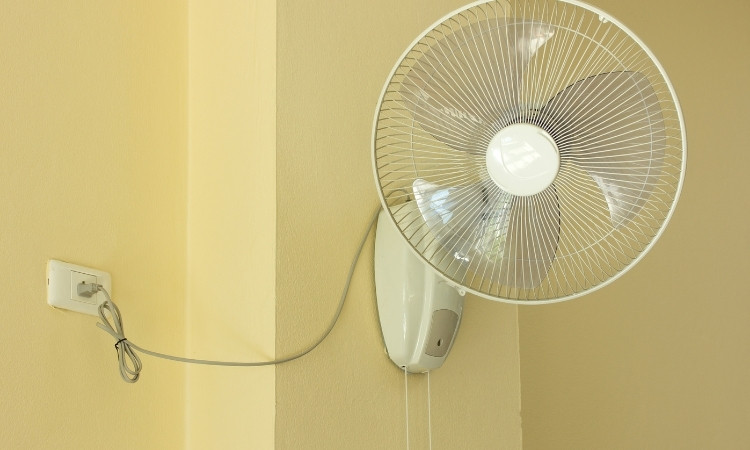
Moreover, it is essential to ensure that the wall fan is not too close to the curtains because they can block the airflow. Furthermore, it is convenient to install a wall fan where an electrical socket is nearby. This saves you the hassle of an extension wire.
Step 2: Check the Wall Structure
Before you drill the holes, check the wall structure. If the wall is concrete, use wall plugs to hold the fan. If the wall is plasterboard, use a stud finder to locate the wooden studs. Mounting the fan directly onto studs ensures it remains stable during operation.
Step 3: Mark the Mounting Points
When you confirm the right spot, it’s time to mark the mounting points. Hold the fan’s mounting bracket against the wall at the desired height. Ensure that the bracket is level because an unbalanced structure will cause the fan to wobble during operation.
Step 4: Drill the Holes
Now you have marked the points for holes; it’s time to put on the safety gear and drill the holes in the desired spots. Moreover, it is crucial to choose the drill bit for the right type of wall. For concrete walls, it is better to use a masonry drill bit.
Drill carefully and accurately into the marks you’ve made earlier. Afterwards, insert the wall plugs into the drilled holes. For plasterboard walls with studs, ensure the screws are inserted directly into the wood.
Step 5: Attach the Mounting Bracket
Once the holes are ready, attach the mounting bracket to the wall. Tighten the screws to hold the bracket. However, you should avoid over-tightening because it can damage the wall or strip the screws. The bracket should be firm and secure because it has to bear the weight of the fan.
Step 6: Install the Wall Fan
It’s all set to install the fan now. Most wall fans have a two-part assembly: the fan motor and the fan blades. Attach the motor unit to the bracket first and ensure it is safely in place. Once the motor is installed, attach the fan blades according to the manufacturer’s instructions.
Step 7: Connect the Electrical Plug
Many wall fans come with a plug, which you need to connect to a standard electrical outlet. Ensure that the power cord is properly routed and does not hang randomly. This is essential to ensure safety measures because a hanging electrical cord can be the least wanted thing in the house. If the cord is short, you should use a longer one or extend the existing cord professionally.
Step 8: Test the Fan
When you finish the installation, you need to test it to see if it works properly. Plug it into the electrical socket and turn it on. Ensure that the fan operates smoothly without wobbling or making unusual noises. If everything is alright, you have done the job successfully, but if there is any issue, you may need to make adjustments.
Conclusion
In conclusion, the above instructions provide ample guidance for homeowners to install a wall fan. Although the installation is complex, the right guidance and tools can make it look simple. Wall fans provide an efficient, space-saving solution to keep your home cool and comfortable in Singapore’s warm weather.