This article will help you fix a cracked floor tile in Singapore. Cracked floor tiles can be a continuous frustration. Fortunately, fixing a cracked tile doesn’t always mean you need to replace it.
You can repair the crack and restore the tile’s appearance in many cases, saving time and money. Using simple materials and methods, this guide will walk you through the steps to fix a cracked floor tile without needing a full replacement.
How to Fix a Cracked Floor Tile?
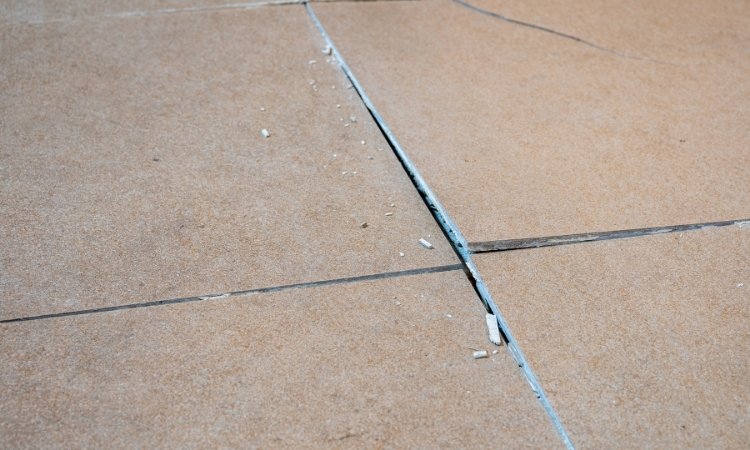
Floor tiles are durable and long-lasting, but they’re not unbreakable. Heavy impacts can cause tiles to crack over time. It can be a hassle to repair a cracked floor tile in Singapore. The situation can become even more complicated if the tile is part of a larger design or is no longer available. However, it is essential to know that you can fix a cracked tile without replacing it is essential.
With a few easy-to-follow steps, you can fix cracked floor tile in Singapore and prevent it from worsening. PS Home Maintenance Singapore provides cracked floor tile fix guidelines for homeowners to continue without professional assistance. Moreover, you can hire them for concrete repair, floor repair, and vinyl flooring installation.
Step 1: Assess the Damage
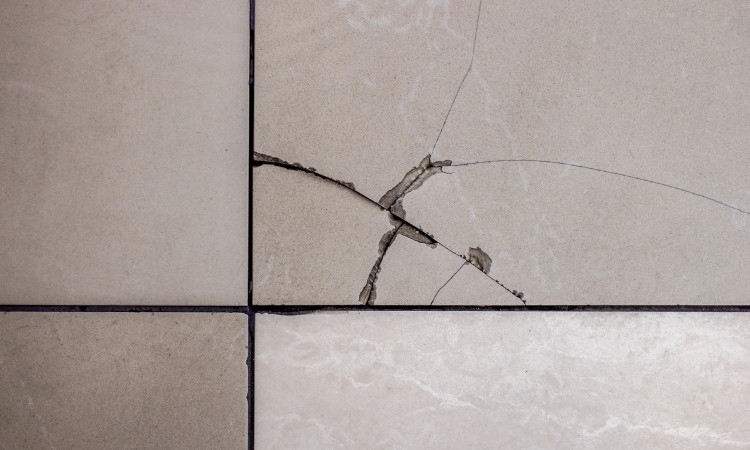
The first step to fix a broken floor tile is to assess the damage. Small cracks are relatively easy to repair, while larger and more prominent cracks may require more effort. If the crack is huge, you may only have the option of replacing it.
When you know the extent of the damage, gather the necessary materials for the job. You’ll need:
- Tile filler
- Tile adhesive
- Sandpaper
- Paint or matching tile color
- A soft cloth
- A vacuum or broom
Step 2: Clean the Cracked Tile
Before you begin to fix a cracked floor tile, ensure the area is clean and free from pollutants. You need to remove loose particles and wipe the cracked tile with a damp cloth. Cleaning is essential because dirt prevents the adhesive material from sitting properly.
Afterward, let it dry completely before proceeding to the next step. This ensures that no moisture remains inside the crack when applying the filler or adhesive.
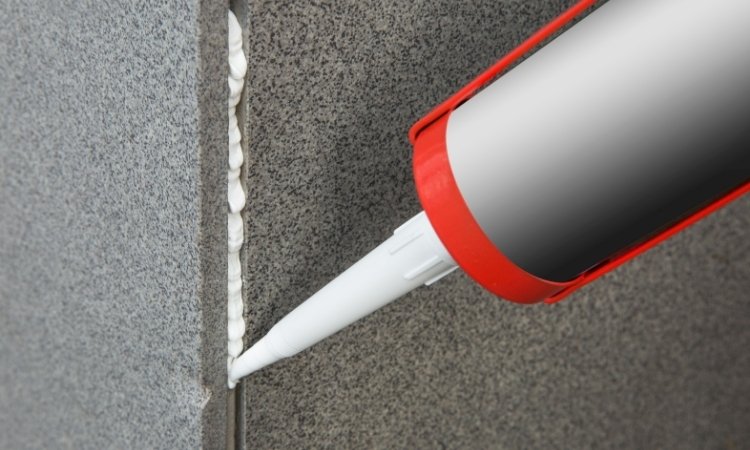
Step 3: Apply Tile Filler or Epoxy
When the tile is clean and dry, it’s time to fill the crack. Tile fillers are explicitly designed to fix cracked floor tiles and are available in various colors to match your tile. Epoxy is a strong adhesive that can also fill cracks and be painted over tile fillers to blend with the tile color.
For small hairline cracks, you can use clear or colored epoxy or a specialized tile filler. For larger cracks, you may need to use a thicker epoxy compound. Let the filler dry completely according to the manufacturer’s instructions.
Step 4: Sand the Tile Surface
When the filler dies, it’s time to smooth the repaired area. Gently sand over the crack to balance the surface with the rest of the tile. This step helps to remove any excess filler and ensure the repair blends perfectly with the surrounding tile. Be sure to sand gently to avoid damaging the surrounding area.
Step 5: Paint or Touch Up the Tile
If the filler or epoxy doesn’t match the color of your tile, you can use paint to match it. Apply paint that matches the tile color over the repaired crack. Tile repair kits include touch-up paint in shades to match common tile colors. Let the paint dry, and apply a second coat if needed.
Step 6: Seal the Tile
A sealant is a good option if you want further protection. This step is beneficial for tiles in high-moisture areas of the house. Simply apply a tile sealant over the repaired area following the manufacturer’s instructions and let it dry completely for perfect results.
Conclusion
In conclusion, if you want to fix a cracked floor tile, you need to have the right understanding and material for your backing. Tile fillers and epoxy will suffice for smaller cracks, but for larger cracks, you should have epoxy compounds to help you fill the cracks and repair the tile. Moreover, you can apply spray paint on the repaired area to match it with the rest of the floor.