
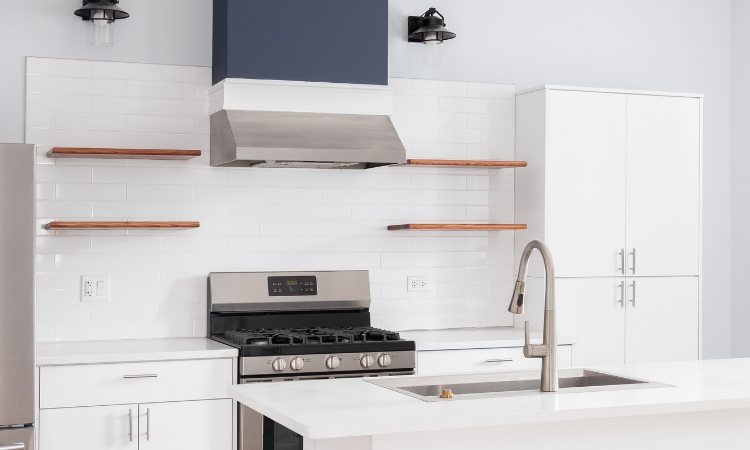
This article explains how to install floating shelves in Singapore. Floating shelves are stylish and practical additions to a home and provide a modern way to display your favorite items or store essentials. Their modern design makes them popular in Singaporean homes, where space is often at a premium. Installing floating shelves is easier if you take the right approach and use appropriate tools.
How to Install Floating Shelves?
Installing floating shelves in Singapore may seem challenging, but you can simplify it with the proper knowledge. Therefore, you need some tips for installing floating shelves. PS Home Maintenance Singapore offers false ceiling installation, ceiling repair, and waterproofing services and provides a guide to hang floating shelves in Singapore.
1. Planning and Preparation
Before you begin, it’s important to plan where you want to install your floating shelves. Consider the purpose of the shelves and the weight they will hold. This will determine the desired shelf type and the kind of wall anchors required.
Measure the space where you want to install floating shelves to ensure they fit well and are properly balanced. Once you’ve decided on the location, keep all the necessary tools and materials. You’ll need a drill, a level, wall anchors, screws, a measuring tape, and a pencil.
2. Marking the Shelf Positions
With your tools at hand, mark the positions where the shelves will be installed. Determine the exact height and width. Mark the points where you’ll drill the holes for the brackets. It’s important to use a level to ensure that your marks are straight. Unbalanced shelves do not look attractive, and the items will also not balance. Therefore, there will be a continuous risk of the items falling.
3. Drilling Holes and Installing Wall Anchors
Once you mark the positions, it’s time to drill the holes. Use a drill bit that matches the size of your wall anchors. Drill the holes carefully to avoid damaging the wall. In Singapore, many homes have concrete or brick walls, so you might need a hammer to complete this task.
After this step, you should insert the wall anchors into the holes. Wall anchors are essential to ensure that the screws hold the weight of the shelves. Tap the anchors with a hammer until they are perfect with the wall. This will provide a solid base for the screws and brackets.
4. Attaching the Brackets
When you set the base, it’s time to align the shelf brackets with the wall anchors and tighten the screws. It’s crucial to ensure that the brackets are balanced and perfectly tightened. Tighten the screws firmly, but avoid over-tightening.
If you want to install floating shelves, use brackets that can support the weight. Lightweight brackets might not be sufficient for larger shelves. Therefore, keep the size of the shelves in mind before buying the accessories.
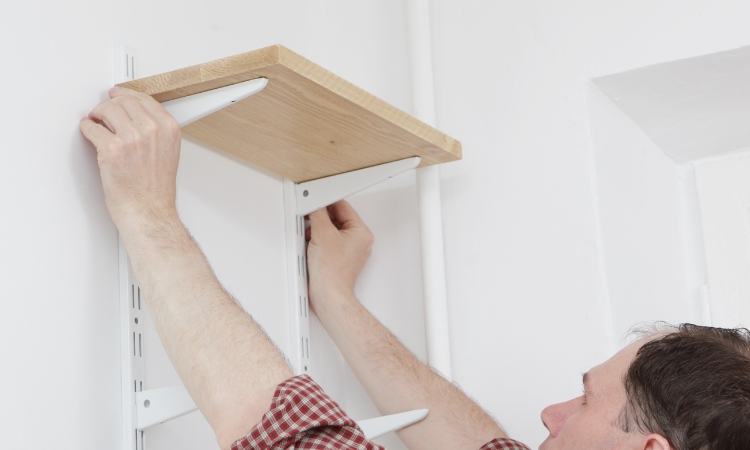
5. Mounting the Shelves
It’s now time to install floating shelves. Carefully slide the shelves onto the brackets and ensure they are aligned and balanced. Some floating shelves have pre-drilled holes that align with the brackets. However, you may need to drill some shelves’ holes. Moreover, some floating shelves simply slide on. Follow the instructions provided with your shelves for professional results.
6. Final Adjustments and Finishing Touches
When you complete this task, check the alignment and level. Use the level to confirm that everything is balanced. If you feel anything needs a slight touch-up, do it to achieve the best results.
Conclusion
In conclusion, you can easily install floating shelves in Singapore with the right knowledge and technique. First, you need to choose a premium-quality material. Then, you should hang the floating shelves as per the steps explained above and ensure that they are perfectly balanced. With these simple steps, you can confidently tackle the installation process and enjoy the modern look of your new shelves.