
Kitchen drawers are important home fixtures, and upon wear and tear or any other issue, you need to repair a kitchen drawer immediately as it could affect kitchen affairs. The kitchen drawers keep kitchen essentials in place and make kitchen tasks easier in daily life. Kitchen drawers can encounter issues like sticking, misalignment, and detachment. Maintenance of the kitchen drawers is an essential and not-so-difficult task. This article will help you repair kitchen drawers more efficiently and keep the kitchen running in good condition.
How to Repair a Kitchen Drawer?
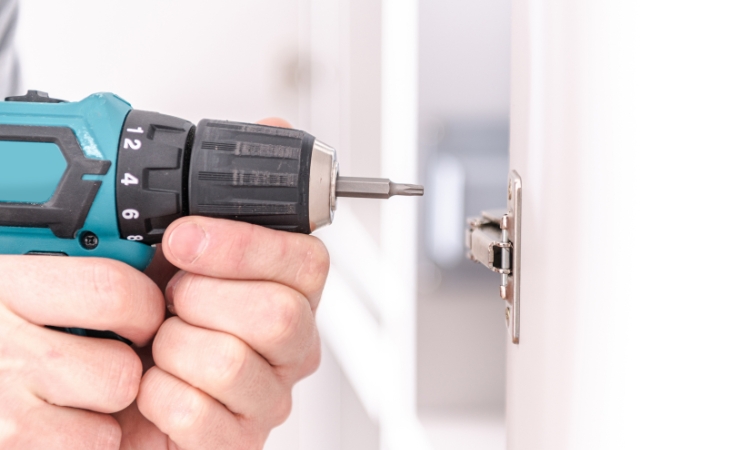
Repairing a kitchen drawer in Singapore doesn’t have to be daunting, especially after the instructions from PS Home Maintenance Singapore, which offers door lock replacement, door latch replacement, and locksmith services. Follow the step-by-step process to fix a kitchen drawer without any hassle.
Step 1: Identify the Problem
Before you begin the kitchen drawer repair process, you need to diagnose the issue. As explained above, the kitchen drawers can encounter the following issues:
- Sticking
- Unsmooth sliding
- Misalignment
- Sagging bottom
- Detachment
Identify the issue with your kitchen drawer and collect the relevant tools and materials to begin with.
Step 2: Gather Tools and Materials
The tools can vary based on the specific issue, but generally, you will need the following tools and materials:
- Screwdrivers
- A hammer
- Nails or screws
- wood glue
- Sandpaper
- Replacement drawer
- Slides or runners,
- Measuring tape
- A drill
- Clamps
Step 3: Remove the Drawer
When you identify the issue and keep the relevant tools with you, it’s time to remove the drawer from the cabinet. To carefully remove the drawer, apply force to pull it outside, and when it starts coming out, disengage it from the cabinet by lifting the front side. Keep the drawer on a flat surface to repair it easily.
Step 4: Repair the Drawer Slides
Most of the time, when a kitchen drawer misbehaves, drawer slides are the culprits. Inspect the slides for any visible damage or wear and tear. If they are not in good shape, you will need to replace them. For instance, if that is the case with your drawer, hold a screwdriver, and remove its screws while being cautious not to spill them out.
Take the measurements of the slides and bring the new ones of the same size. Align and attach the new slides in place of the previous ones. Ensure perfect alignment and tighten the screws. Slide the drawer inside the cabinet and check the functionality. If any adjustment is required, go ahead with it.
Step 5: Fix a Sagging Drawer Bottom
If the bottom of the drawer gets damaged, it can cause malfunctioning of the drawer. If this is the reason, you need to remove the drawer carefully because the damaged bottom can hurt your hand. Take the measurements and bring a brand new piece of the same dimensions. Plywood or hardboard is the most used material for making these kinds of wood items. Slide the new bottom into the slot and tighten the screws or nails.
You can use an extra layer of wood glue to strengthen it further. If the drawer bottoms have a sagging habit, enhance its support with additional strips and braces. Take small pieces of wood to fit along the bottom and attach it firmly with wood glue and screws as needed. This will ensure the sagging issue is dealt with for a long time.
Step 6: Repair a Loose or Detached Drawer Front
If you want to repair a kitchen drawer and you see a detached drawer front, you have identified the most common culprit in drawer issues. Use a screwdriver to remove any screws. If the front is attached with glue, detach it using a flathead screwdriver.
Apply ample glue on the edge of the cabinet box that holds the drawer. Align the drawer front with the drawer box and press it. You can use clamps to hold it until the glue dries. For additional strength, you can use corner brackets inside the drawer.

Step 7: Sand and Finish
When everything is well in place, sand the surface and edges to smooth them. Pay attention to the repaired areas to make them look even better. If the drawer has a painted finish, you should apply a matching paint color to make it aesthetically pleasing.
Step 8: Reinstall the Drawer
When all the repair work is complete, and the finish is dry, align the drawer in the slide and place it back in position. Then, it will be tested for functionality by performing several opening and closing sessions.
Conclusion
In conclusion, it doesn’t have to be daunting to repair a kitchen drawer. The step-by-step repair process explains everything a DIY or a professional should know. It requires a mere an hour or even less than that to repair the kitchen drawer and make it functional again. The process helps both professionals and DIY enthusiasts.